Friday, October 23, 2015

Canadian Bacon

Found at many places, I picked this up at Bass Pro Shops. 

2 pounds of fresh boneless pork loin.

Trimming the fat off the top of the loin.

Seasoned with pepper before adding the cure. Accurate weights and measures are important in this process.

Proper amount of cure massaged into pork loin and ready for vacuum sealer.

Only pulling a partial vacuum allows for "breathing room" for the cure to encompass the whole loin. Into the fridge for 6 days turning every 24 hours.
Removed from the bag, excess cure rinsed off and soaking in water for a few hours.
Applewood smoked until internal temp of 160°

Let rest before slicing

Slice and eat!

Tuesday, October 20, 2015

Buttermilk Jalapeño Chicken Thighs


1 tsp garlic powder, 1tsp black pepper, ½ tsp onion powder, 1tsp oregano, ½ tsp celery salt, ¼ tsp cayenne pepper, 2 sliced jalapeños
Boneless skinless chicken thighs.


Seasonings mixed with two cups buttermilk and poured over thighs. Cover and refrigerate for a few hours.

Marinade drained off and thighs rubbed with a mixture of a couple tablespoons of olive oil, and the same seasonings listed above minus the jalapeños.

Grilled 20-25 minutes until done.

Thursday, October 15, 2015

Upgrading the Charcoal Smoker to Electric v3.0

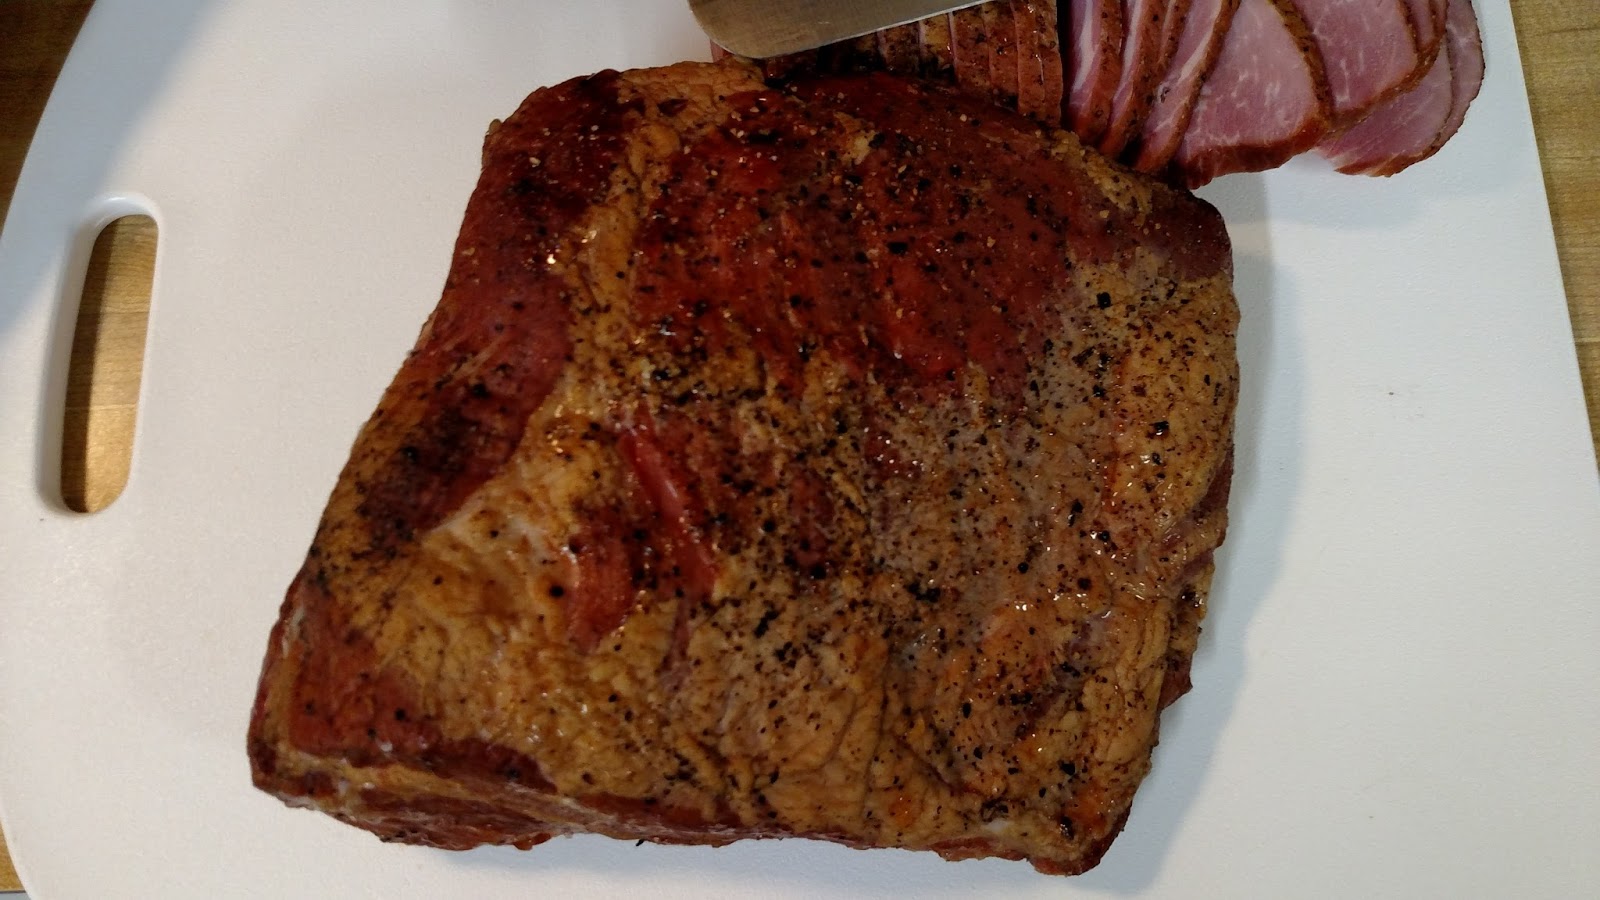
Recently, while trying to smoke my first buckboard bacon, I had issues of keeping the temp low and steady. I wanted to smoke the pork shoulder without actually cooking the bacon.

 This led me to do some research and I found my smoker was also designed to use an electric heating element.

 After some searching I found the element at Cabela's for about $40 (cheaper then buying a whole new electric smoker).

 After some modifications, I did an initial heating test with an oven thermometer on the top rack where the pork shoulder would be sitting.

 The element plate comes right back out and I can use charcoal on my next smoke if I choose.

 I plan on replacing the temporary pie pan with a 10" cast iron "skillet".
The electric element with the holes drilled and six bolts in place. The allows the wood chip pan to sit right above, but not on, the heating element.

A temporary pie pan with apple chips for the initial testing.

The element plate sits in the factory grooves cut into the legs of the charcoal smoker. It can also be moved up and used as an electric grill but I have no intentions of doing that.

A close up of the bolt head height above the element. These are 3" bolts. I may change them to 2½" bolts in the future to close the gap.

After running for an hour the temp is holding steady at 175°. This is perfect for smoking bacon without cooking it.
Version 2.0 - adding cast iron griddle as wood tray and lowering tray height by replacing bolts.
10" diameter cast iron griddle
Handle cut off of griddle

Cut area polished on my belt sander. Area was oiled with vegetable oil to prevent rusting prior to heating test.

3" bolts removed and replaced with 2½" bolts to lower griddle closer to heating element.
Still not close enough to heating element to get wood/chips/pellets to smoke. Will have to try 2" bolts and maybe a washer in the future. 
Version 3.0 - Swapped out 2½" bolts for 2" bolts. This allows for the weight of the cast iron griddle to sit on the bolt heads and the flex of the element to sit just under the griddle. Now I can run the element in the leg grooves, which gives me the 175° temp range I'm looking for whole smoking buckboard bacon , or put it into the charcoal pan spot on top of the legs to get into the 220-225° range for slow cooking with smoke. I always have the option of removing the whole electric element and using charcoal.
2" bolts allow the wood tray to sit in the position I was looking for.

Electric element and wood tray set in the top position and still have clearance of the water pan, leaving the option to add more wood chips, chunks or pellets.

Another view of everything in the upper position.

Sunday, October 11, 2015

Buckboard Bacon


 I originally found the recipe for buckboard bacon here . Below is how my experiment went.
My search for a fresh pork shoulder (not vacuumed packed in a saline solution) led me to discover a local meat market that I will return to many times in the future.

After de-boning the pork shoulder it weighed exactly 4 pounds.
Following the directions on the package of cure,  the amounts were measured out and massaged into the shoulder. The shoulder was then put into a Food Saver bag with out a full vacuum. You want the juices to be able to move around the meat.

After 9 days of curing in the fridge (turning every 24 hours) the shoulder is rinsed off in cold water and then submerged in fresh cold water to remove the excess salt. Mine sat in the water overnight with the water being changed out once.

The shoulder on the smoker rack with a fresh pepper grind.
Smoked to an internal temp of 150°
Let rest for an hour then slice up for a taste test!
Clearly less fat in this style of bacon.
Smaller piece sliced and ready for packaging.
Large piece rested overnight in the fridge and ready for slicing
Way less fat than traditional belly bacon
Whole lot of bacon from one shoulder!
Great marbling throughout!
Packaged and ready for freezing for future use.

A little olive oil in the pan and lightly fried up for the first taste test. Somewhat a cross between ham and bacon, but superb! A little salty... A little smokey and a whole lot delicious!


Saturday, October 10, 2015

Sweet and Spicy Ribs

2 racks of baby back ribs with the membranes removed. 

Food Saver bags (made from the rolls)

1 cup of Spicy Dr Pepper marinade poured into each bag and sealed. (Not a full vacuum on these to allow marinade to surround the ribs)

8 hours in the fridge to marinade. Remove from bags and put on a foil lined pan for easy clean up.

After 2 hours in oven at 275°
After 2 hours in the oven throw on the pre heated grill at 300°
After 40 min on grill and layers of sauce.
Sliced up ribs!
Packed up for a trip across the street to the Garage